Final Project
3-D Scanning in Film
For my final project I looked into the advantages of using 3D representations of actors for motion pictures rather than actors themselves. Because my focus in 3D applications is 3D modeling, I decided to focus specifically on the modification of geometry and the texturing of the model. I had two main goals, to modify the face model in various ways so that the actor could be used in a fantasy environment, and also to modify the geometry in a way that would allow any actor to play any role, regardless of age, sex, race, or body type.
The Process
Although the school doesn't house the powerful scanning technology that exists in Hollywood, there does exist some very powerful pieces of equipment that I had to choose from to get a 3d model of my face. I ended up deciding to use photogrammetry, yet with it came obvious obstacles. Most notable is the inability to get a full 360 degree scan, yet closer to about 180 degrees.
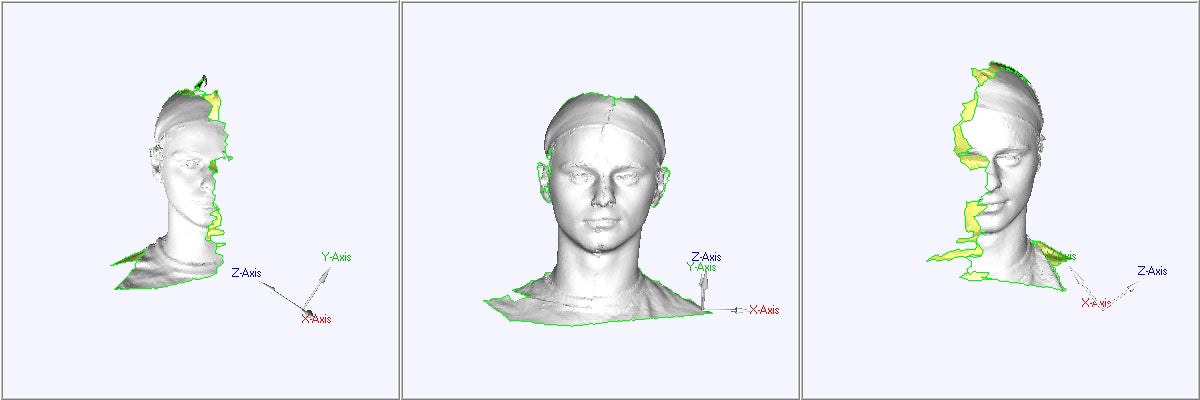
To solve this problem, I scanned five different angles of my head for every model that I desired. The end result was four models with different facial expressions, derived from over 15 point clouds created through photogrammetry (varying outputs of photogrammetry shown below).

The combining of these various object files was one of the greatest obstacles in the process, as it was difficult to combine the objects without an onion layer effect and poor normals and geometry in complicated areas (most notably the ears). I finally came upon an ideal procedure on my third trial. The process for combining the five objects first involved registering two objects at a time so that the common geometry would line up. Then I went through and deleted the polygons that overlapped with one another to ensure there would be no onion layers. After there was a seam between the two objects, the two objects were merged into a single object. Then I used bridge and fill holes to fill the seams and have a single mesh. I also had to go through and delete a lot of the polygons with flipped normals and use the fill hole again to fix this awkward geometry.
After doing this with the four different models (straight face, smiling face, sneering face, and open mouth) the faces were taken into Mudbox so that the geometry could be fixed up. I focused mostly on the increased width that was a result of the hair net that was played on my head and to remove the hair from the back of my head and from my sideburns. There was also often rough spots that didn't scan well that I used Mudbox to smooth out. Finally my four base models were complete and ready to be modified in various ways.
The Control
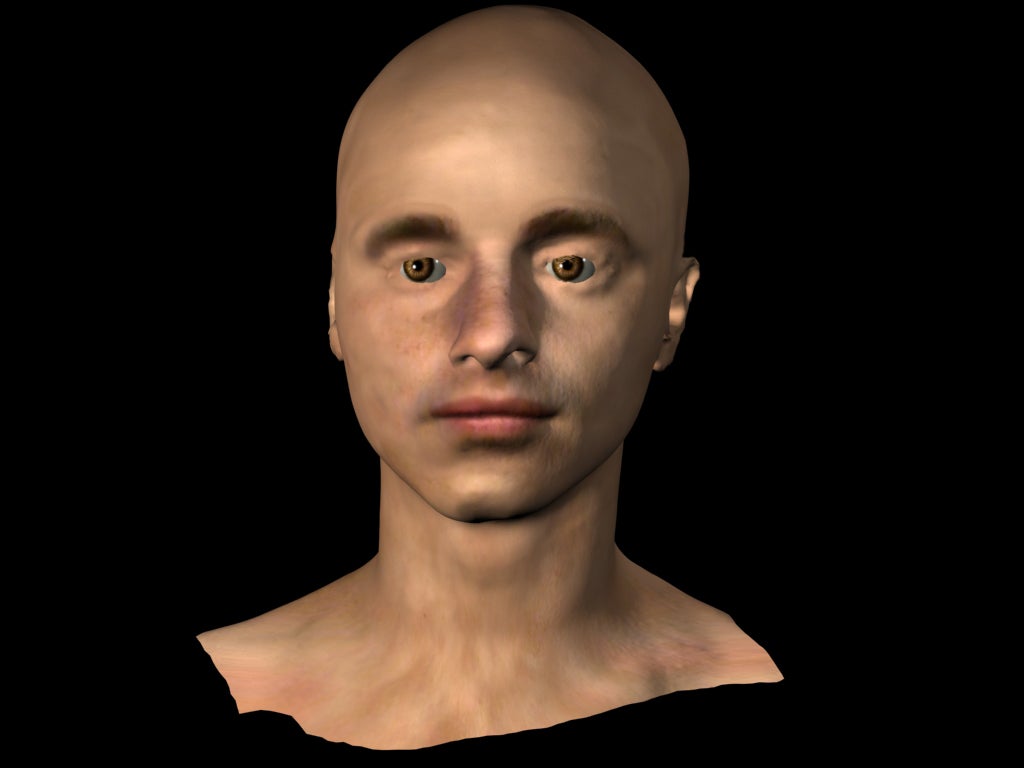
I left one my models unmodified, so that it could be seen based on my resources and my skills how realistically I could render my face. After the touch up done in Mudbox, the geometry was modified no further and brought into 3ds Max. I applied a UVW unwrap modifier and rendered out the UV template. The template was then brought into photoshop as reference for the texture. For the texture I took three high-res photos of my face, and compiled them into one single texture, removing things such as eyes and hair and leaving the skin. I also created a bump map and specular level map based on the diffuse map I created.
Gender Study
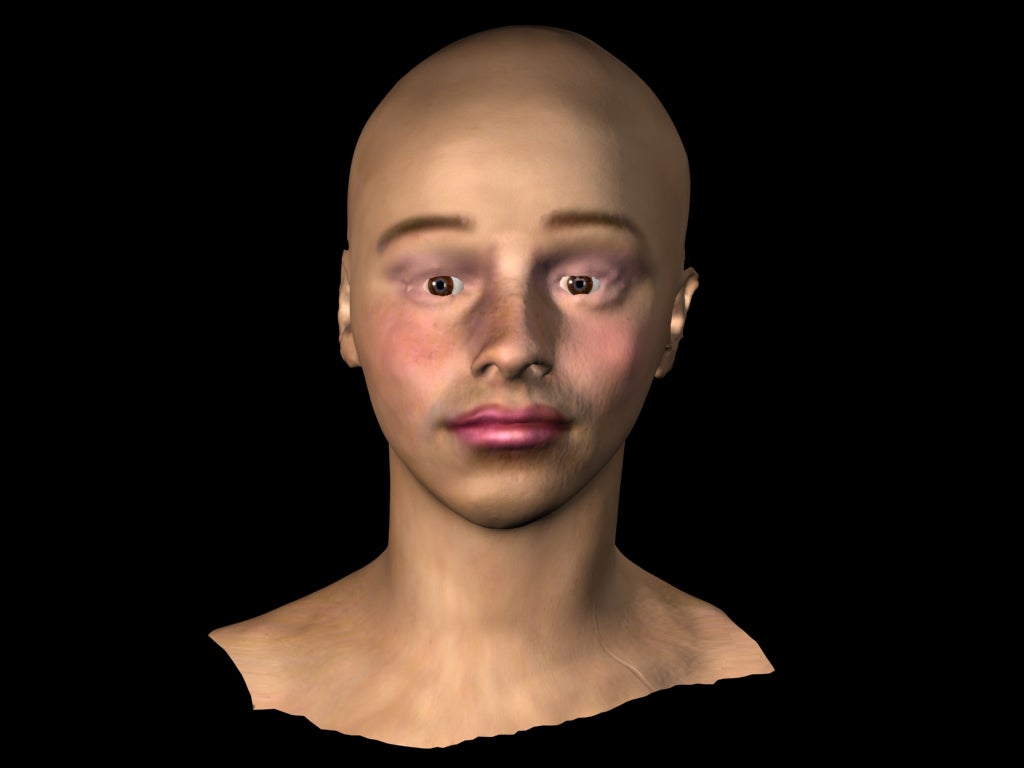
My first goal was to create a character that was noticably me, but had attributes of a female. To do so I first researched the anatomical differences between males and females. With this information, I did the following modifications in Mudbox: made trhe nose slightly smaller and a bit more upturned, increased the size of the lips, brought out the cheeckbones, rounded out the jaw line, and smoother out the bone ridge on the brow. Then I took the original texture from the control and added make up, making the lips pink, putting on a bit of blush, and putting a bit of color on the eyes. Also the eyebrows were thinned out, and the specular level was increased on the lips.
Physical Condition Study
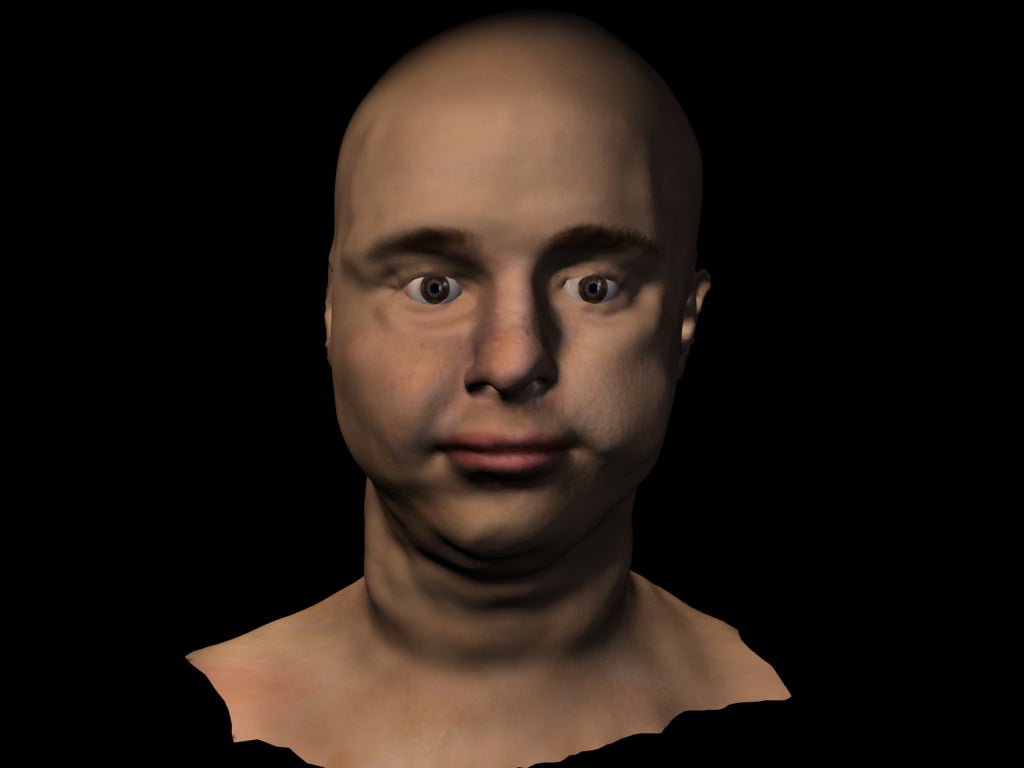
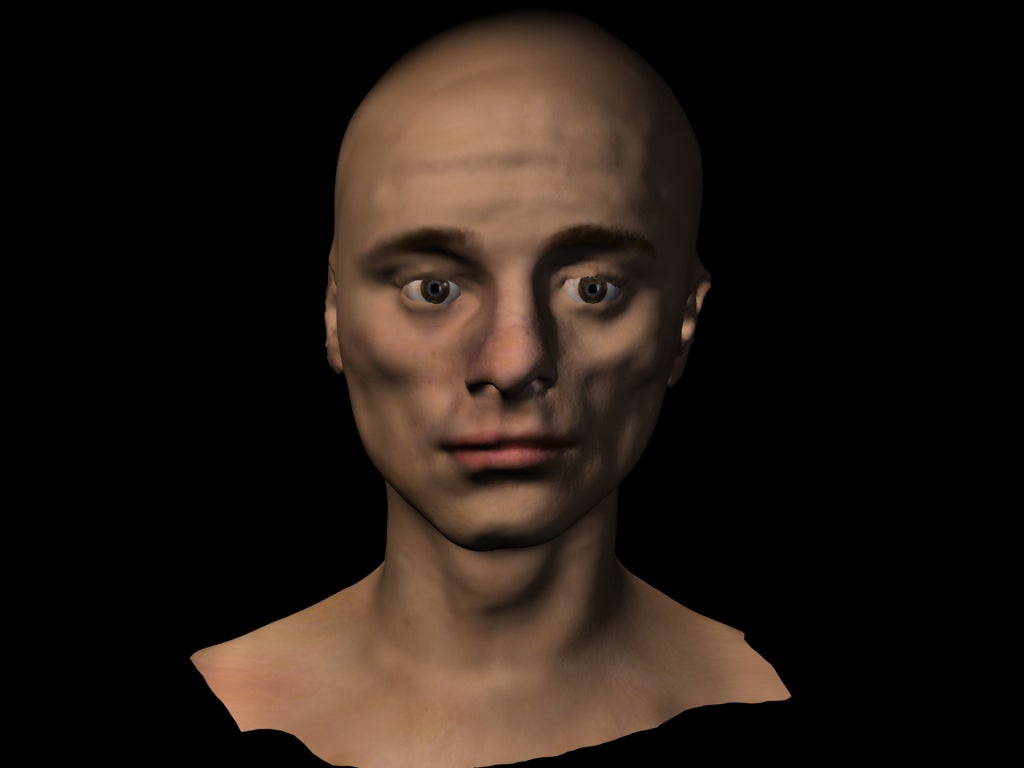
The next experiment I had was in creating people who are in different physical conditions than myself. What I came up with is two models on the far end of the spectrum, a person that appears obese, and another one that appears famished. To do this I used my own face for reference. For the obese model I found areas in which there exists pockets of fat, such as the cheeks and neck. For the starving model I did the same but also focused on where the skull nearly contacts the skin, such as the cheekbones, chin, and forehead, being sure to push the model around those areas. The models were then imported into 3ds Max, and nearly the same texture mapping was used from the control model was used. A morph animation was created, showing the fat model slowly losing weight until it became the withered model. The link below the images shows this morph.
Race Study
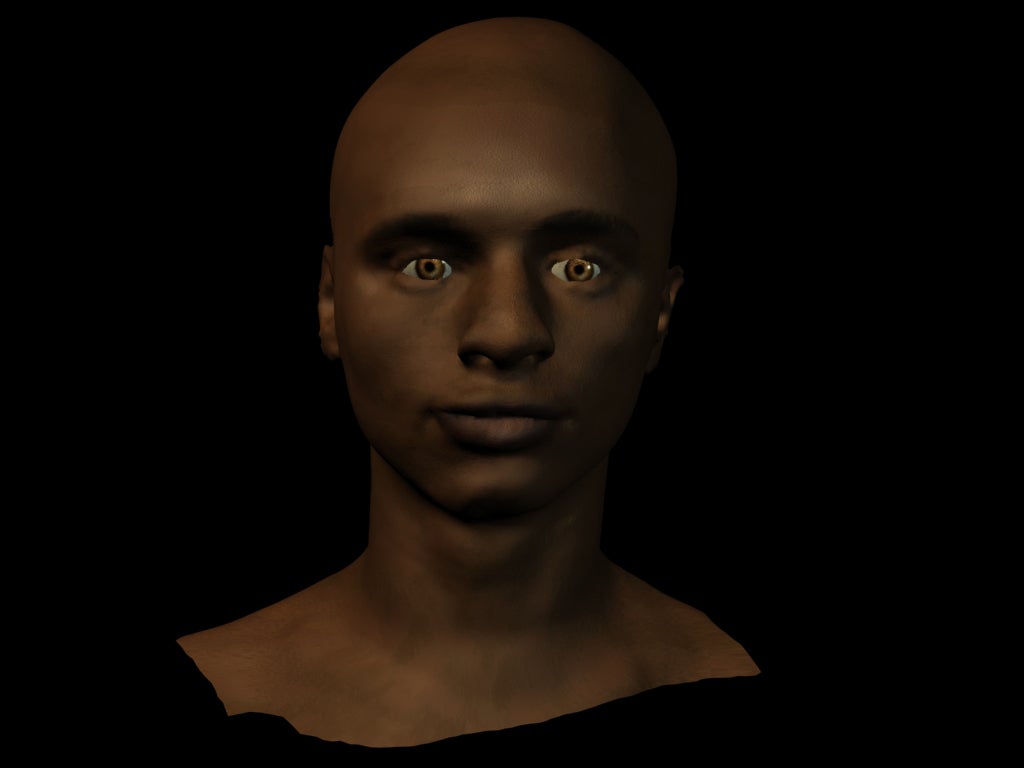
The last study I did for crossing role restrictions is changing my face into that of an African American's. After looking at various pictures of African Americans online, I modified the geometry in Mudbox to create a slightly more sloped forehead, fuller lips, a nose that is closer to the face and wider, and slightly larger cheekbones. Then for the texture I adjusted the hue and saturation of the original texture map so that it was darker or more brown, and colored the lips with a slight hint of pink. I also used a stronger specular level map to make the highlights come out more so that the darker texture didn't appear as flat.
Horror Film Study
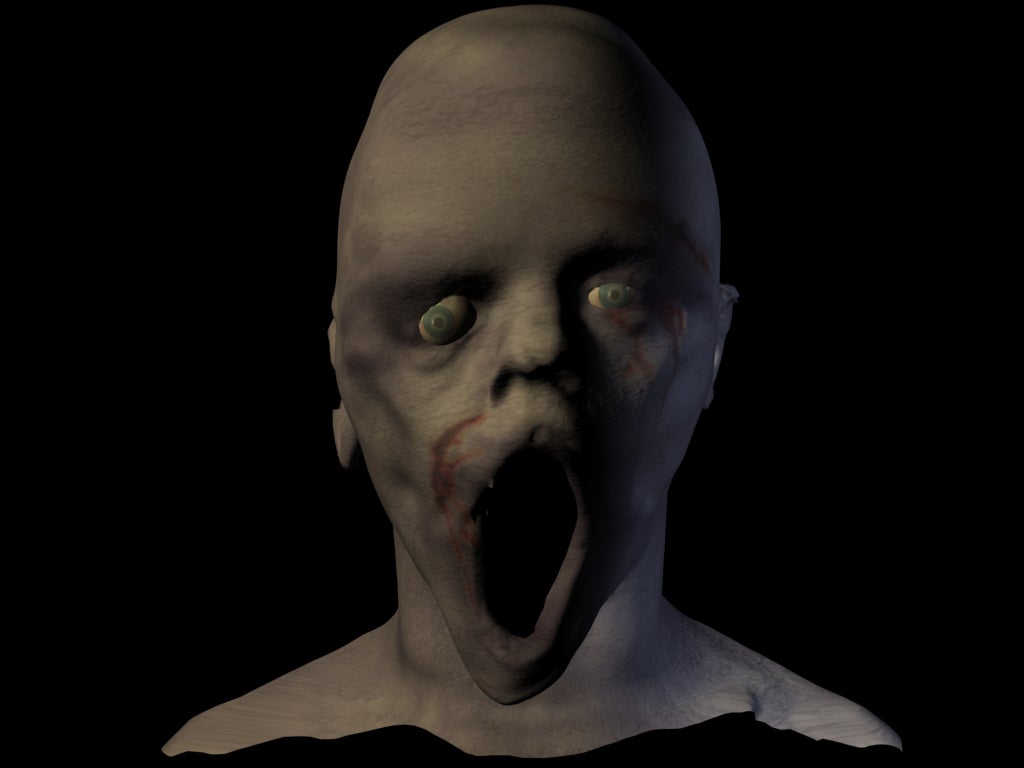
My first alteration of my face into a fantasy character came in the form of a zombie. Because zombies are so reoccuring in film, I thought it would be interesting to create my own version that could be used on scanned model. I began with a scan of my face with my mouth open. From there I brought it into Mudbox and exagerated the jaw much more, making it appear as though it is dislocated. I also pushed in several areas much like I did for my starving character to make it appear lifeless. Then the twisted geometry was brought into 3ds Max for a texture unwrap. For the texture, I brought in the texture from the control and completely desaturated it, then added a slight blue hue to it, again to emphasize death. Then I used the burn tool to darken some areas, such around the lips and eyes. After that images were brought from the web of open wounds to add onto the zombie to make it appear as though it is deteriating. Lastly a crackling texture was added to make it appear as though the skin was dry and ready to fall apart.
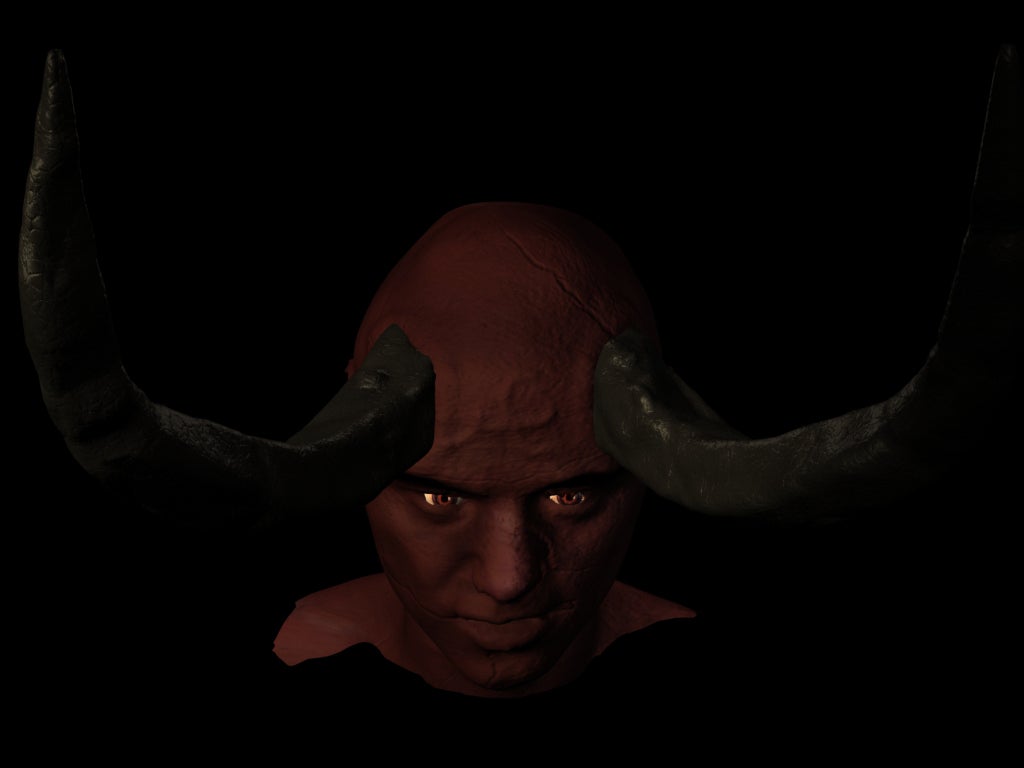
Fantasy Study
My last character that I created was a demon. For this I used the scan in which my face was snarled and angry. I then created two horns in 3ds Max using a chamfered rectangle extruded along a curve. Then both the horns and the face were taken into Mudbox. The horns received minor displacements, and the face had a glyph placed on his forehead (make it appear as though he was branded), the forehead was pulled out in the areas where the horns were coming out, and slightly other modifications were made to make him appear slightly more menacing. Then the control texture was turned into a darker red map. Also, a map of cracked dirt was used as a bump map, giving the demon the appearance of having nearly stone hard skin. The horns used a modified stone texture that came with the 3ds Max software. A full 3d view of the demon character can be reached below the image.
